Page 1 of 1
Ghostly shadows

Posted:
Wed Aug 25, 2010 4:37 pmby Melissa Conway
Hello!
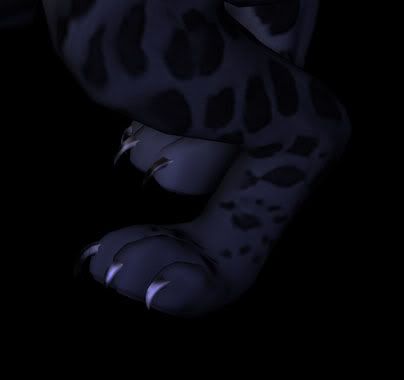
I have what should be a simple morph in Morpheus Pro. Black background, 1st pic is a figure on hands/knees, 2nd pic is a panther. Pics were created in DAZ3D, and I posed them to morph easily into each other, however, midway through the morph, the feet of the panther suddenly appear as ghostly images BELOW the places where they appear in the actual photos.
Please advise how this phenomenon could occur and what I should do to rid myself of this flaw that is ruining my morph.
Thank you.
M.
Posted:
Wed Aug 25, 2010 6:34 pmby Ark
You may have to link to a screenshot or sample animation to show what you mean.
Posted:
Wed Aug 25, 2010 7:21 pmby Melissa Conway
Okay...I'll try to attach them here...
First photo (affected portion):

Ghost foot (circled in red):

End photo:
I hope I embedded the links properly. Thanks for your help! M.
Posted:
Wed Aug 25, 2010 7:41 pmby Ark
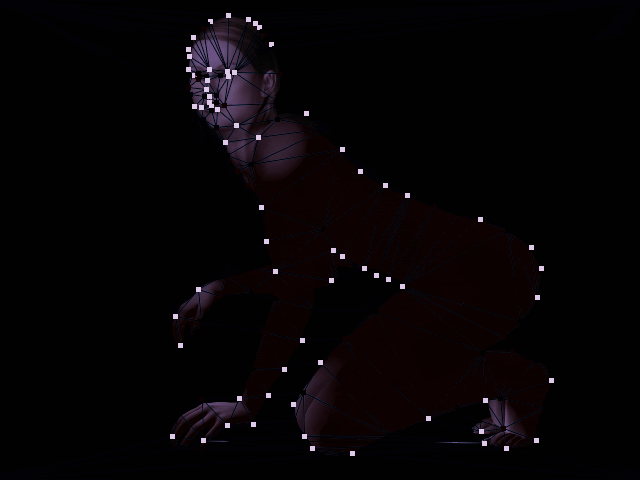
Under Morph Options, check Dots, Lines, and Triangles under What to Render.
Then render an animated GIF and attach it here, or upload a Flash SWF file to Morpheus Galleries and link to that so we can look at the flow of the animation.
Posted:
Wed Aug 25, 2010 9:23 pmby Melissa Conway
Okay, here it is (edited to add a looping version):
Posted:
Wed Aug 25, 2010 11:10 pmby Ark
It looks like your triangles are overlapping as they move. It's hard to tell since they are black, but if you change the color to say bright blue or green under Morph/Customize Triangles you can get a better view.
One thing you can try is to use the "Remove triangles touching the corners" option in Morph Options and make sure the Background color is set to black, since you are working with pictures that have a solid color border.
Another option is to add additional dots in the empty space between the legs at the bottom, to help guide the lines that create the triangles into better spots that do not cause overlap in the animation.
Finally, you can also move the dots that are on the End picture around the toes of the bottom right foot. Move them down or left a pixel or so, so that the triangle created by the two dots and the corner's implicit dot only contains the black area no matter what.
Posted:
Thu Aug 26, 2010 8:46 amby Melissa Conway
Thanks Ark for your insight. I actually did render the pic with the lines as bright blue. Dunno why they came out so dark. I tried most of what you suggested already, but I have to admit geometry was not my favorite subject in school. I look at the triangles and have NO IDEA which ones will "overlap" and which ones won't. Most of my attempts to fix the problem actually made it worse, but I will keep dinking with it, since I've already expended so much time etc. on the project!
Thanks again! :)
M.
Posted:
Thu Aug 26, 2010 9:13 amby Ark
"Lines" are tools in the Professional edition or higher that let you connect dots manually. "Triangles" are the automatically generated lines used to connect all the rest of the dots that do not have lines specified.
Make sure you are setting the triangles to a bright color, unless you are actually using lines as well. The default is bright green lines and bright blue triangles.
You can use the Morph/Show Triangles in Pictures option (or click on the eyeball/triangle icon on the main toolbar) to show the triangles in your Start and End picture. In the Preview window you can also click the pencil/triangle icon to draw the triangles in the preview as it plays. This should help you see which triangles are sliding under other triangles based on your dot setup.
If you attach a rendering with brighter triangles, I can probably point out some examples.